Key Takeaways:
- Assess Your Needs and Budget: Determine the purpose of the extension and set a realistic budget, considering all associated costs.
- Choose the Right Type of Extension: Decide between options like rear, side return, wraparound, or double-storey extensions based on your space requirements and property layout.
- Understand Planning Permissions: Check if your project falls under permitted development or requires full planning permission, especially if your property is in a conservation area or is listed.
- Comply with Building Regulations: Ensure your extension meets safety, energy efficiency, and construction standards, regardless of planning permission status.
- Hire Qualified Professionals: Engage architects, structural engineers, and experienced builders to design and construct your extension.
- Prepare for the Construction Process: Anticipate the timeline, potential disruptions, and necessary arrangements during the building phase.
Planning an extension can feel overwhelming: you’re about to invest significant time and money into your biggest asset, and you want to get it right.
While there’s no denying there’s a lot to learn and think about, it’s worth it – imagine how that first glass of wine will feel in your fresh open-plan kitchen, the glorious peace and quiet you’ll get in your new home office or just how much easier life will be with muddy paws on tiles, rather than carpet.
The more informed you are, the more confident you’ll feel in the extension process. From deciding which extension is right for you and navigating planning permission vs permitted development to budgeting and what to expect from the construction phases, this step by step guide to planning a house extension answers all the need to know questions.
And if you need any more advice, our renovation coach Thomas is always just a phone call away.
1. Is extending your property right for you?
Should you move or improve?
When space feels tight at home, it’s natural to wonder whether moving might be the quicker and easier route forward. While moving house might seem like the simpler option, most London homes can be extended to some degree (depending on your property, council and neighbours). Extensions can often be more cost-effective and allow you to create a space that’s perfectly tailored to your needs and lifestyle.
The decision to extend rather than move often comes down to your emotional connection with your current location. The community you’ve built, children’s schools (if you have children), green space, coffee shops and gyms you’ve come to love all come into play.
Weigh these against the cost of moving, including stamp duty and legal fees, as well as the potential value an extension could add to your property. While living through a renovation brings its own challenges, the reward is a home customised exactly to you and your family’s needs.
2. Key considerations before starting
What extension should you go for?
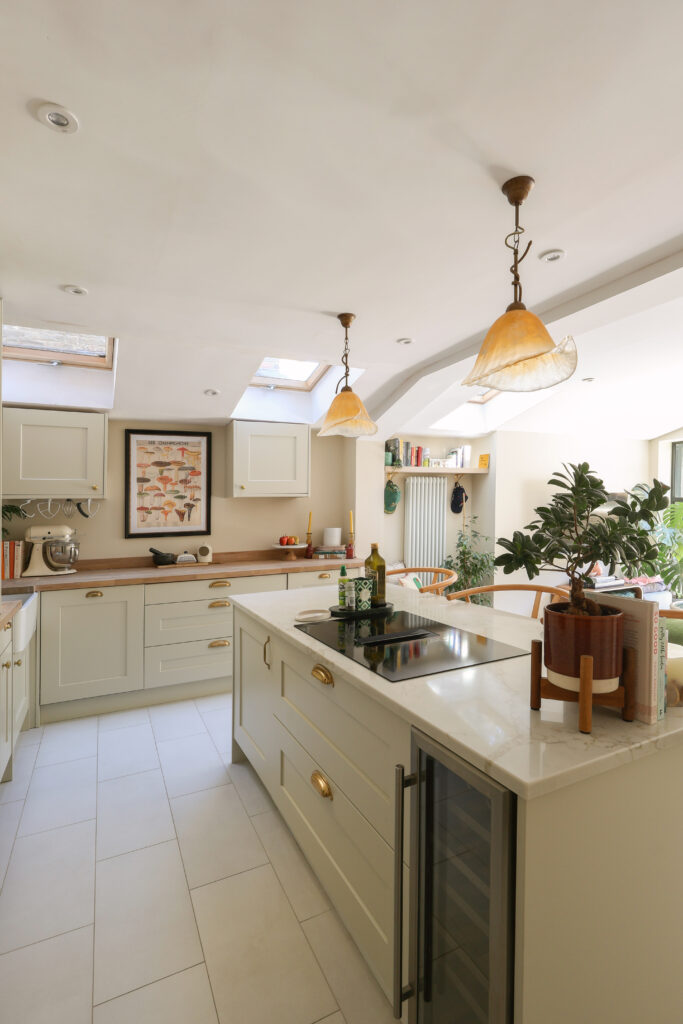
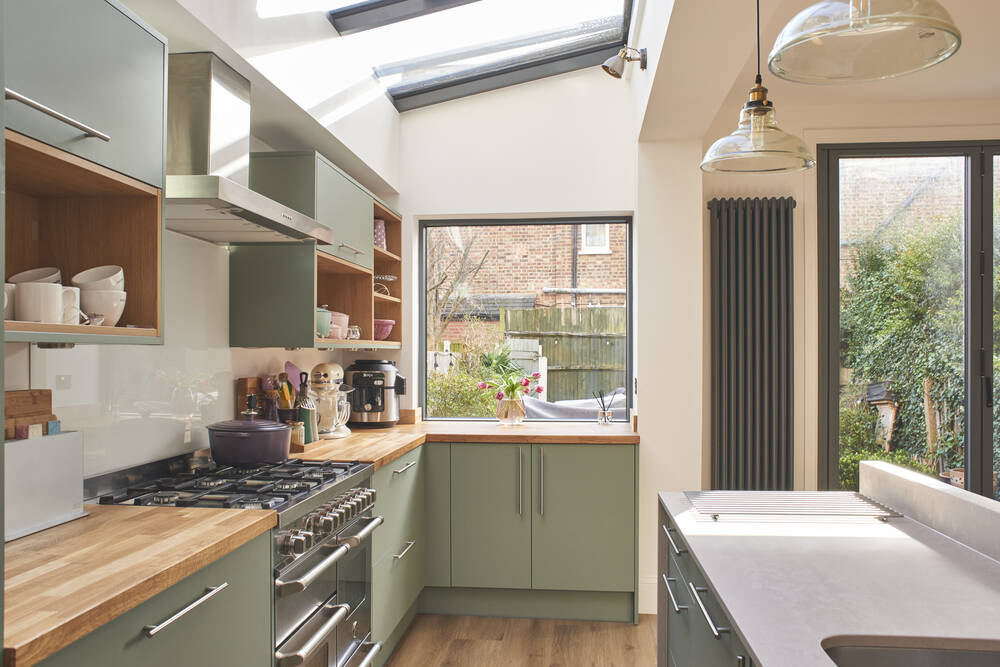
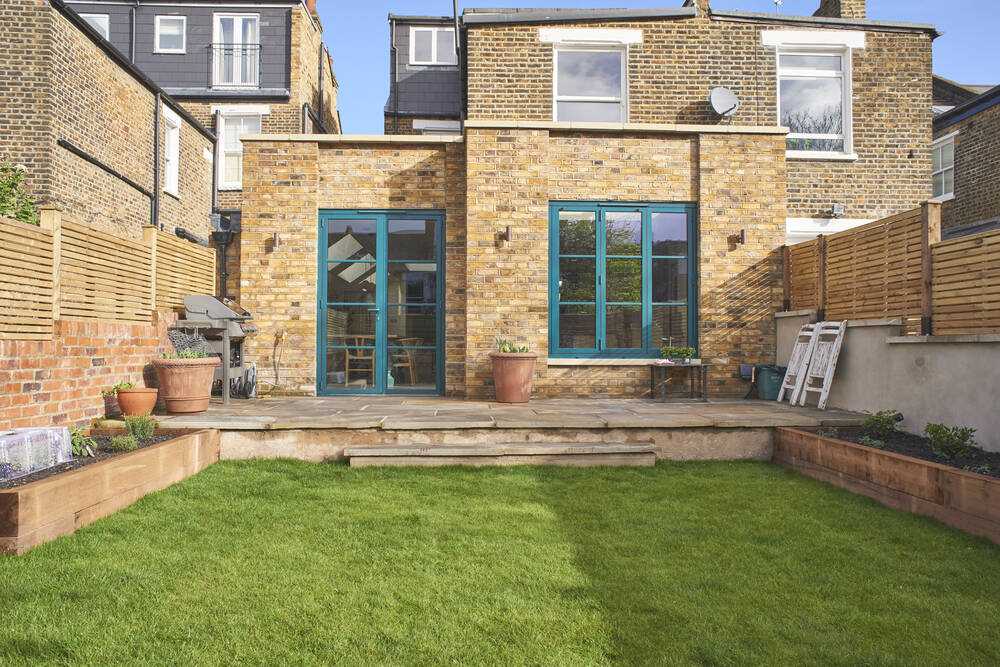
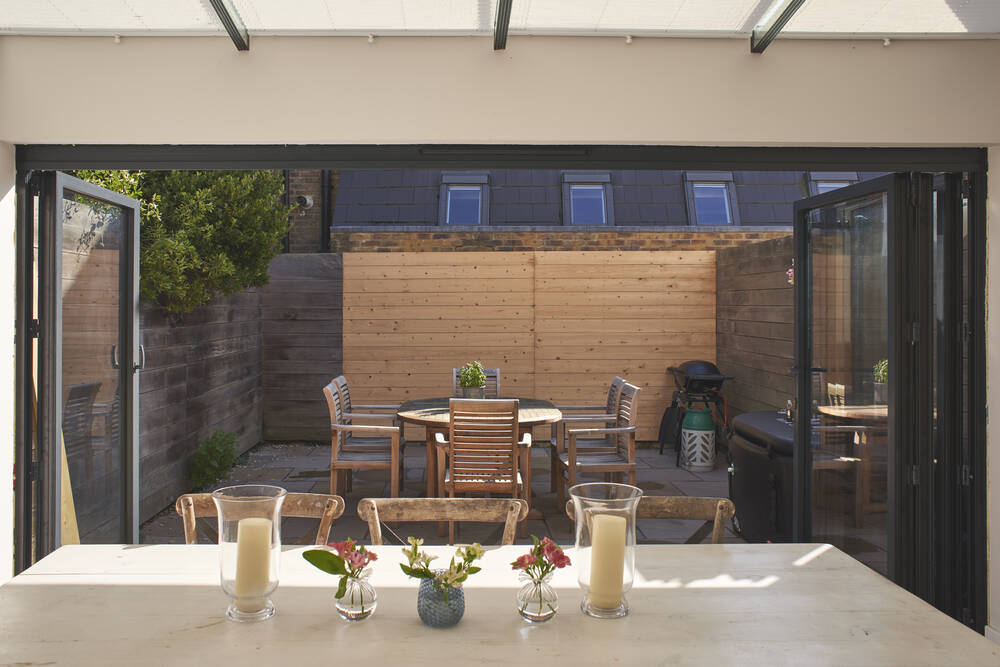
Rear extensions are particularly popular for creating open-plan kitchen-diners that connect seamlessly with the garden. Side return extensions can transform unused alleyways into valuable living space, particularly in semi-detached houses.
Wraparound extensions combine both approaches, while double-storey extensions allow you to expand both your ground floor and first floor space simultaneously. The deciding factors are often what you can get permission for, how much space you desire and your budget.
Planning permission vs permitted development
Understanding planning requirements early can save significant heartache later. While some extensions fall under permitted development rights, others require full planning permission.
There’s variation in what you can and can’t do depending on the type of extension you’re after, but general rules for permitted development are:
- Materials should be similar in appearance to the existing house
- No more than 50% of the land around the original house can be covered
- No extension can be higher than the existing roof
- No extension can extend beyond the front of the house
- Side extensions must be single storey and maximum half the width of the original house
Whether or not you need planning permission typically depends on your property type, location and the scale of your proposed extension. If you live in a conservation area or a listed building, you’ll need a few extra green lights before you can start your project.
Rather than guess or hope for the best, check with your local planning authority at the start of your project to understand what you can and can’t do.
Building regulations
Regardless of planning permission requirements, all extensions must comply with building regulations. These standards ensure your extension is safe, energy-efficient and properly constructed.
They cover everything from structural stability and fire safety to ventilation and drainage. Working with experienced professionals who understand these requirements helps ensure your extension will pass any necessary inspections.

Home insurance coverage
Before any work begins, contact your home insurance provider to discuss your extension plans. You’ll need to update your policy to cover the increased square footage and ensure you’re protected during construction. Some insurers require specific types of renovation insurance, so getting clarity on what you need early on can help to avoid potential issues.
Leasehold or freehold considerations
For leasehold properties, obtaining permission from the freeholder is an essential early step. This process can take considerable time and may involve legal negotiations. Starting these conversations early in your planning process helps prevent delays once you’re ready to begin construction.
Keeping the peace with neighbours
Good relationships with your neighbours can make your extension project significantly smoother. Take time to discuss your plans with them, addressing any concerns about light, views or construction disruption. Being proactive and considerate goes a long way.
Party wall agreement
A party wall agreement is a legal requirement if your extension impacts any walls, boundaries or structures that you share with your neighbours. This is particularly relevant in London where properties are often terraced or semi-detached. When it comes to extensions, some common work that means a party wall agreement will be needed is:
- Rear extensions: foundation work
- Side extensions: built up to or near the boundary
- Loft conversions: if you’re cutting into shared walls
- Basement extensions: almost always require party wall agreements due to their impact on neighbouring foundations
If you need a party wall agreement, you need to formally give notice to your neighbours at least two months before starting work (but most people will appreciate a heads up before receiving a legal document). Your neighbours then have the option to contest the work, which can hold things up, so bear this in mind when planning your home extension.
Top tip: a party wall agreement is only valid for 12 months, so make sure you’re crystal clear on your plans before getting in touch. Having to repeat the process can be costly.
Will your extension plans add value?
While adding space typically does add value to a property, some extensions offer better returns than others – a well-designed home extension that creates versatile living space is the gold standard. Consider your local market’s ceiling prices when thinking about your budget and specs too, and ensure your extension’s style and quality align with what else is on offer in your area.
3. Designing your extension
How to design a home extension
Creating the perfect extension design requires careful consideration of look, feel and practicality – your extension should feel like a natural part of your home while ticking functional boxes.
So firstly, think about how you want to use the extra square feet. Do you want more living space? An extra bedroom? A home office? Once you’ve got your priorities nailed, consider things like how natural light will flow through the space, where storage can be integrated and how the new area will connect with existing rooms.
Also think about the future: you want your extension to suit your needs now and in the long run, so flexibility is key.
Using an architect
An architect can bring valuable expertise to an extension project, helping to transform your ideas into practical, beautiful spaces.
They’ll often bring creative spatial solutions that the untrained eye might not see, like ways to maximise natural light, more efficient layouts and clever storage solutions, as well as ensure your extension complements your existing home.
Their technical knowledge of building regulations and planning requirements can also smooth the approval process. Some architects can also help to free up your time and energy and act as project managers, and their detailed drawings are helpful reference points for contractors throughout the home improvement process.
On the other hand, the cost of an architect can add 8-15% to your project and the design process from initial concepts through to final plans can take several months.
For smaller extensions, this might be hard to justify, especially if you already have a clear idea of what you want. If the latter is true for your project, opting for an architectural technician, who develops and prepares detailed construction drawings and specifications, and sets out works schedules, can be a more cost-effective option.
How to brief an architect
Clear communication with your architect sets the foundation for success. Share your lifestyle requirements, design preferences and budget constraints, plus realistic examples of extension styles you’d like to emulate, and explain how you plan to use the space. The more information you can give, the better equipped they’ll be to create a design that meets your needs.
Obtaining structural engineer calculations
A structural engineer ensures your extension is built safely and securely. They’ll provide detailed calculations for foundations, beams and support structures, considering factors like soil conditions and load-bearing requirements. It’s best to involve them in the design phase of the process so you can be sure your plans are feasible, and their input is essential for both building regulation approval and construction.
Pro tip: for an extension you’ll need both structural engineer drawings and building regulations drawings for building control.
4. Choosing the right builder
Finding the right contractor for a project as important and costly as an extension can feel like searching for a needle in a haystack. You should take into account price, reviews, portfolios, timelines, plus communication and work style.
The Page has discovered that the best value and results come from using skilled, hands-on professionals who run tight-knit operations: our Pagers (pre-vetted contractors) exactly fit this bill.
With years of experience, they’re on site daily to both build and oversee work, and their lean operations – without expensive overheads like office space or administrative staff – allow them to offer competitive pricing without compromising on quality.
Pagers bring a wealth of practical experience to an extension, particularly if you can’t afford a project manager. Their practical approach ensures better quality control and more responsive communication throughout your build. While these gems can be hard to find through traditional channels, The Page can connect you with three contractors ideal for your specific project within 24 hours.
Get matched to the right Pager, at the right price
How to compare builders and quotes
When reviewing quotes (three to four allows for good benchmarking without overwhelming choice) look beyond the bottom line. Consider each contractor’s scope of work, timeline commitments and payment schedules.
Their approach to project management and communication style are equally important. Quality contractors provide detailed quotes that clearly outline materials specifications, warranties and project phases.
Cost is understandably a huge factor in the final decision, but think about the long term: if one quote looks particularly low in comparison to the others, it’s probably missing something. You do get what you pay for, so with a project as huge in scope as an extension, make sure to choose someone with proof of good quality work.
5. Budgeting for your extension
One of the most common pitfalls of extending your home is doing so without a clear understanding of costs. This can be very stressful and time consuming further down the line – having a realistic budget mapped out from the start helps ensure you’re working with the right specialists and contractors.
The Page’s renovation coaches can help you map out costs, accounting for planning and permission fees, construction and labour costs, and materials, with a healthy contingency fund. We can also help you identify where you might be able to save money (without sacrificing on the end result) and which elements are worth additional investment.
Understanding extension costs
- Single-storey extension costs – A single-storey extension typically costs between £2,000 and £3,000 per square metre for mid-range quality, rising to £4,000 or more for premium finishes. The final cost depends on factors like size, location, materials, the complexity of the design and your choice of builder. The average cost of a side extension in London, for example, can vary from about £37,000 to £50,000 for a small extension. The price of a rear extension in London is typically about £100,000.
- Two-storey extension costs – Double-storey extensions usually add 50-75% to the cost of a single storey, making them more cost-effective per square metre. They often provide better value when you need to maximise both ground floor and upper floor space.
- Basement extension costs – Basement extensions are typically the most expensive option, ranging from £4,000 to £6,000 per square metre due to complex excavation work and waterproofing requirements. However, they can be worthwhile in areas with high property values.
- Loft extension costs – Loft conversions generally cost between £1,500 and £2,500 per square metre, varying based on the structural changes required and the type of conversion chosen.
Funding your extension
Several funding options exist for financing your extension. These include using savings, remortgaging your property, taking out a home improvement loan, exploring equity release or considering personal loans. Each option has its advantages and considerations, so it’s worth discussing these with your bank or a financial advisor.
6. Planning and managing the build
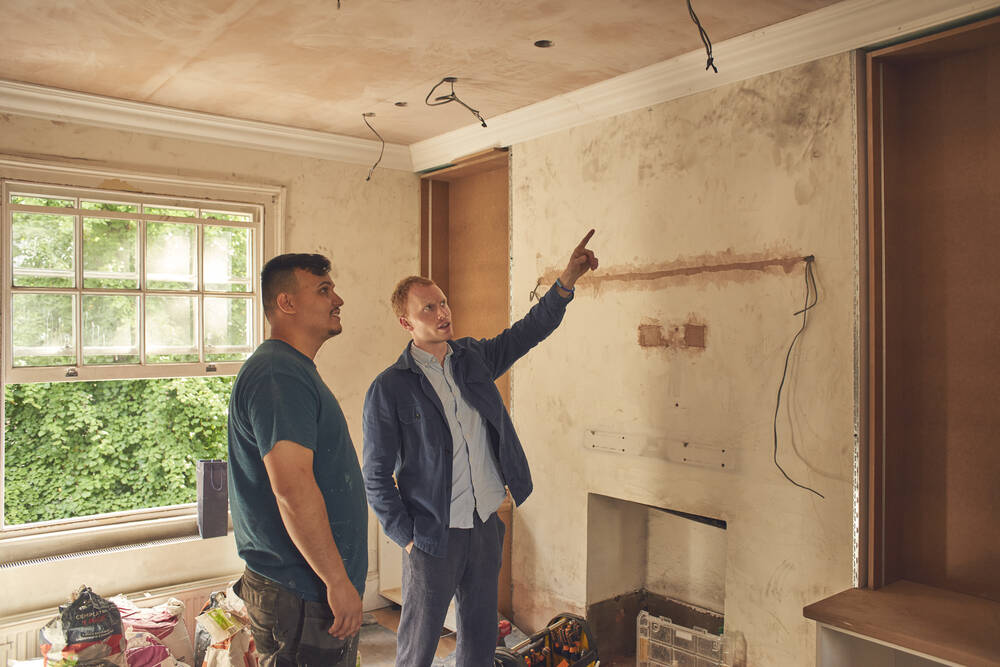
Prepare the site for construction
Before any work begins, your property will need proper preparation. This involves setting up secure fencing, protecting existing structures and gardens, establishing site access routes and arranging for storage of materials. Your contractor will also need to set up temporary facilities and ensure utilities (water and gas) are properly marked and protected.
Begin excavation and foundation work
The foundation stage is crucial for your extension’s stability. Your team will mark out the footprint for your house extension, excavate to the required depth and then install necessary drainage and damp-proof measures. Once building control has inspected the groundwork, concrete foundations can be poured. This stage often reveals unexpected challenges like poor soil conditions or hidden pipes, which is why having a contingency budget is so important.
Construct the frame
With foundations in place, the building work can begin and the frame of your extension begins to take shape. The skeleton is usually built using a combination of wood, reinforced wood and steel – this is an exciting phase where you’ll start to see the scale of your extension.
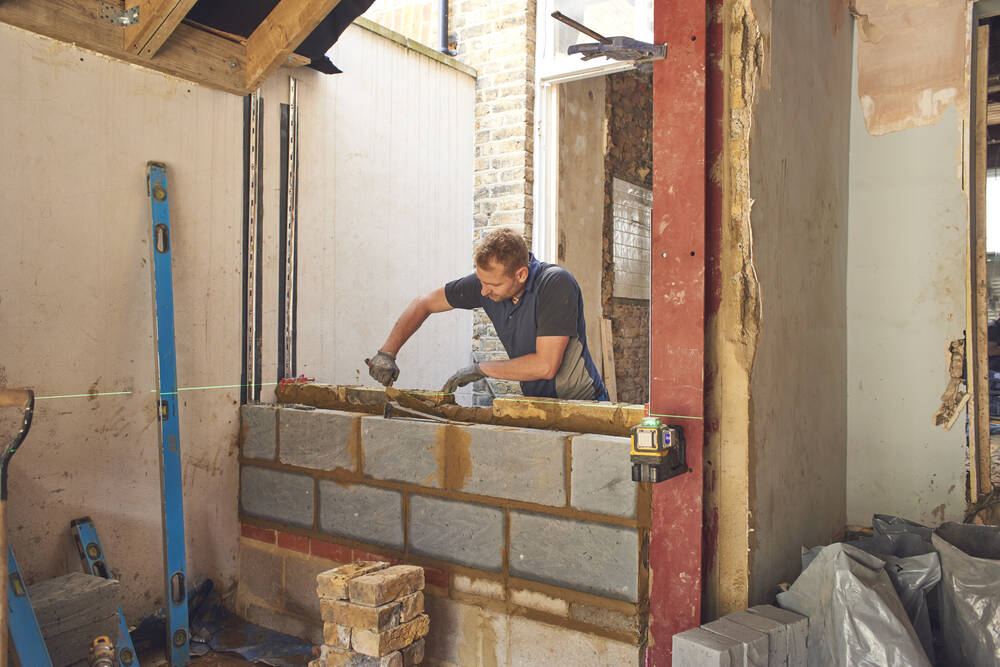
Build external walls and roof
External walls are built using your chosen materials, ideally matching those of your existing home. The roof construction follows, including trusses or rafters, felting, and tile or slate covering. Proper weatherproofing at this stage is essential for protecting the structure as work continues.
Install windows and doors
Installing windows and doors is a major milestone – it’s when your extension becomes weathertight. This phase includes fitting frames, glazing and ensuring proper sealing and insulation around all openings. You’ll start to see how natural light will flow through your new space.
Begin internal work
First-fix work (putting in the infrastructure of your extension) begins once the shell is weathertight. This includes installing electrical wiring, plumbing pipes and ventilation systems. Your contractor should work with specialist tradespeople to ensure everything is properly positioned before walls are closed up.
Complete electrical and plumbing work
Second-fix electrical and plumbing work essentially involves installing and connecting all the things you’ll see: sockets, switches, light fittings and sanitaryware. This is when your extension starts to become functional, with working lights, water and heating systems.
Insulate and plaster internal walls
Proper insulation is crucial for energy efficiency and comfort. Once insulation is in place, plasterboard is fitted and skimmed to create smooth wall surfaces. This stage of building an extension is where you’ll probably be able to properly envision
Complete flooring and tiling
Flooring installation varies depending on your chosen materials. Whether you’re laying tiles, wood or other finishes, this stage requires careful preparation of the subfloor and precise installation to ensure a perfect finish.
Finish interior decor
Decorative finishes bring your extension to life. These flourishes include painting, wallpapering, fitting skirting boards and architraves, and installing any built-in furniture or storage solutions.
Conduct final inspections
Building control will need to make final inspections to ensure all work meets regulations. Electrical and plumbing work requires certification, and you’ll want to thoroughly check all finishes and functions.
Sign off on the build
The final stage involves creating a snagging list of any minor issues that need addressing, ensuring all warranties and certificates are in place, and making the final payment once everything is completed to your satisfaction.
Project management options
Managing an extension project requires careful coordination. Managing house extensions yourself can save money but requires significant time commitment and construction knowledge. Your main contractor might offer project management services, providing a single point of contact while coordinating all aspects of the build. Project management is something that our Pagers are adept in, which is a big time and energy saver.
Alternatively, hiring a dedicated project manager or having your architect oversee the work can provide professional expertise and reduce your stress, though this adds to the overall cost.
Should you move out during construction?
Deciding whether to live through your extension project or live elsewhere temporarily requires careful consideration. Living on-site lets you monitor progress and make quick decisions, but construction work is always disruptive, dusty and noisy. If your extension affects key living spaces like kitchens or bathrooms, temporary accommodation is probably the right move.
Consider these factors when deciding:
- The scale and duration of works
- Whether you have young children or work from home
- Your tolerance for dust and noise
- The impact on daily routines like cooking and bathing
- The cost of temporary accommodation versus project savings
- The season (living through construction is easier in summer)
Your contractor can advise on the likely impact and help you make an informed decision. Some homeowners choose hybrid solutions, like staying with family during the most disruptive phases while remaining at home for others.
Find a home renovation contractor with Thomas at The Page
Planning an extension doesn’t have to be overwhelming. At The Page, we specialise in matching homeowners with trusted, hands-on contractors who can bring visions to life at competitive prices – without sacrificing quality. We’ve already done the hard work of finding exceptional contractors: we team up with Pagers not just for their skills but their approach to project management and communication.
Ready to start your extension journey? Our renovation coaches understand both the practical and emotional aspects of extending your home, providing expert guidance at every step. We’ll help you understand the process, connect you with the right contractors for your extension, and ensure you feel confident and supported from start to finish.
Hire a Pager: save thousands on your extension
FAQs
What is the first step in planning a house extension?
Assess your needs, goals, and budget for the project.
Do I need planning permission for a house extension?
Some projects fall under permitted development, but others, especially in conservation areas or listed properties, require full planning permission.
What building regulations apply to extensions?
All extensions must meet safety, energy efficiency, and construction standards.
Who should I hire to carry out the extension?
Engage architects, structural engineers, and experienced builders for design and construction.

George Harris
January 22, 2025Renovate the savvy way
- Simplified process with support throughout
- Pay the right price for proven Pagers
- Transparent pricing & timelines
SHARE THIS ARTICLE